Installation instructions for curtain tracks, curtains, Roman blinds, and Venetian blinds
This instruction describes step-by-step how to mount a standard curtain track and how to correctly hang different types of curtains. The explanation is intended for practical use, even without much experience.
Mounting a curtain track
Required tools
Make sure you have everything at hand beforehand: tape measure, spirit level, pencil, drill, plugs (suitable for the surface), screws, screwdriver or bit, and a ladder. A laser level works faster, but is not essential.
Distance from window to track
For a single track, the track is mounted approximately 7 to 10 cm from the wall. This way, the curtain hangs freely from the window and does not touch a radiator or windowsill.
For a double track, the back track is placed approximately 7 to 8 cm from the wall. The front track is placed 6 to 8 cm in front of it, which translates to approximately 14 to 16 cm from the wall. This ensures that the curtains fall neatly one behind the other without touching each other.
Determining height
For ceiling mounting, the track is usually placed 1 to 2 cm from the wall. For wall mounting, the track is mounted 5 to 10 cm above the window frame. For floor-length curtains, always measure from the bottom of the track to the floor. Allow 1 to 2 cm clearance so that the curtain hangs freely.
Placing supports
A track needs to be well supported. Place supports every 50 to 60 cm. Always ensure there is a support at both ends, at joints, and at bends. First, mark everything with a pencil and check that the line is level.
Then drill the holes, insert plugs if necessary, and screw the supports in place. Check that all supports are in line before clicking or sliding the track into place. Then install the end stops so that the gliders cannot run out of the track.
Hanging curtains
Single pleat
Start at one end of the track. Hook each pleat into a glider and calmly work your way to the other end. Make sure the distance between the pleats remains consistent. Then fully extend the curtain and check that the bottom hangs straight.
Double pleat
For double pleats, it is important to start in the middle. From there, work to the left and right. Each pleat gets one glider. Gently shape the pleats so they open nicely. Distribute the fabric evenly across the entire track before closing the curtain.
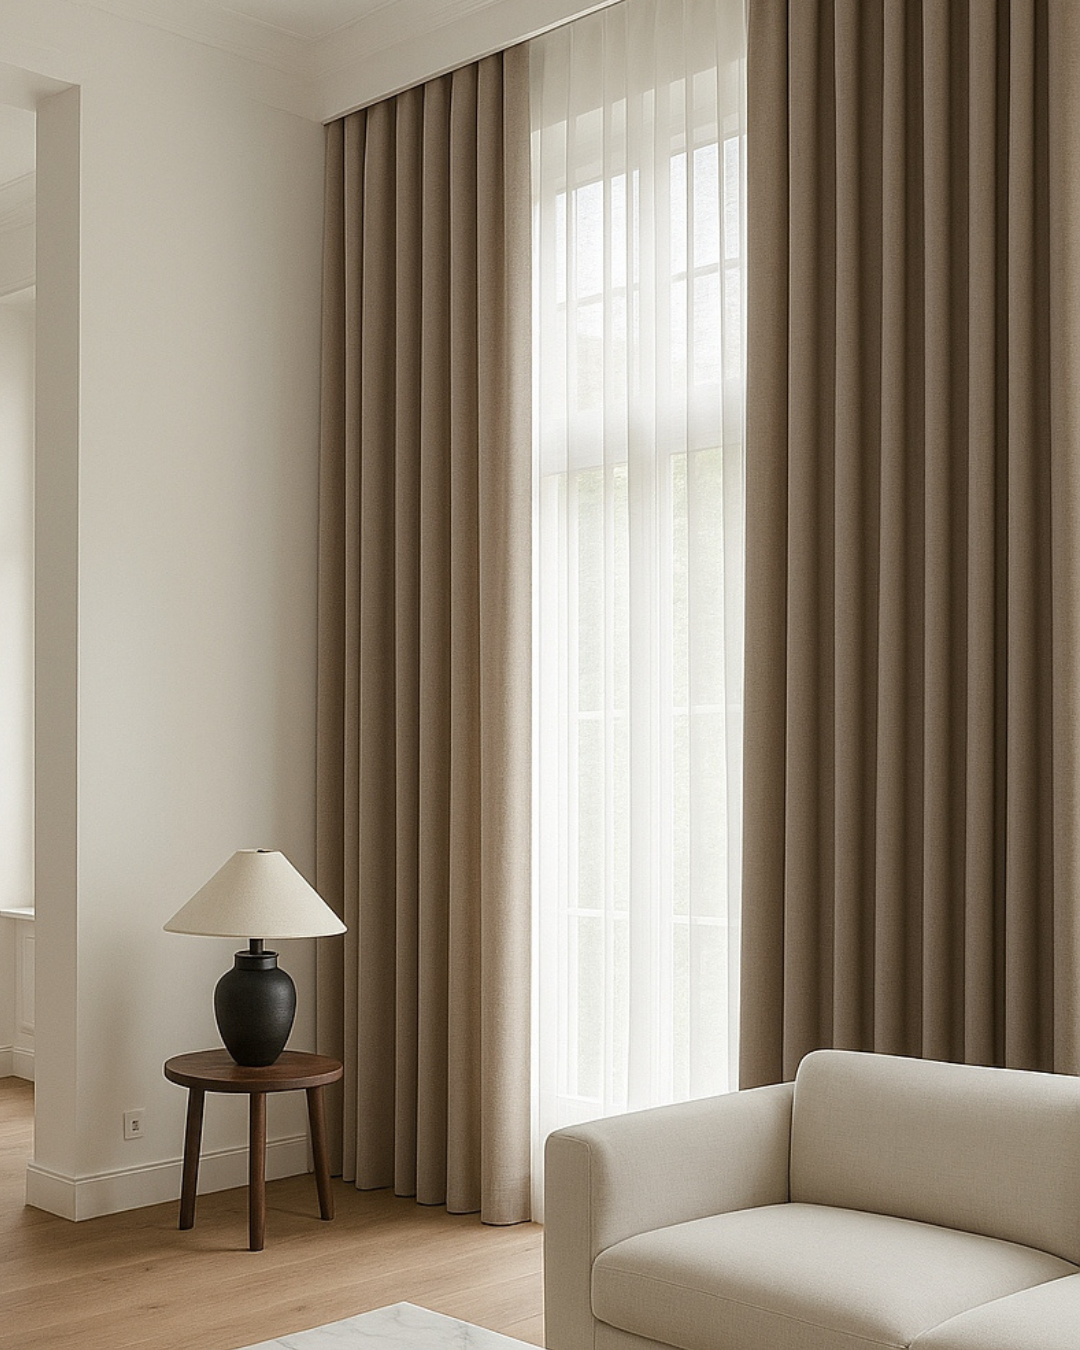
Wave pleat
Wave curtains are always hung on a special wave track. The track is placed approximately 8 cm from the wall. The gliders are at a fixed distance (usually 6 or 8 cm) and should not be moved.
Start at one end, hook each hook into a glider and do not skip any gliders. Then fully extend the curtain. The wave shape will form naturally, but will only look truly beautiful after the curtain has hung for at least 24 hours.
Double track with combination
With a double track, the thinner curtain (such as an in-between or wave) hangs on the back track and the thicker curtain on the front track. The front track is always further from the wall so that the curtains can move freely.
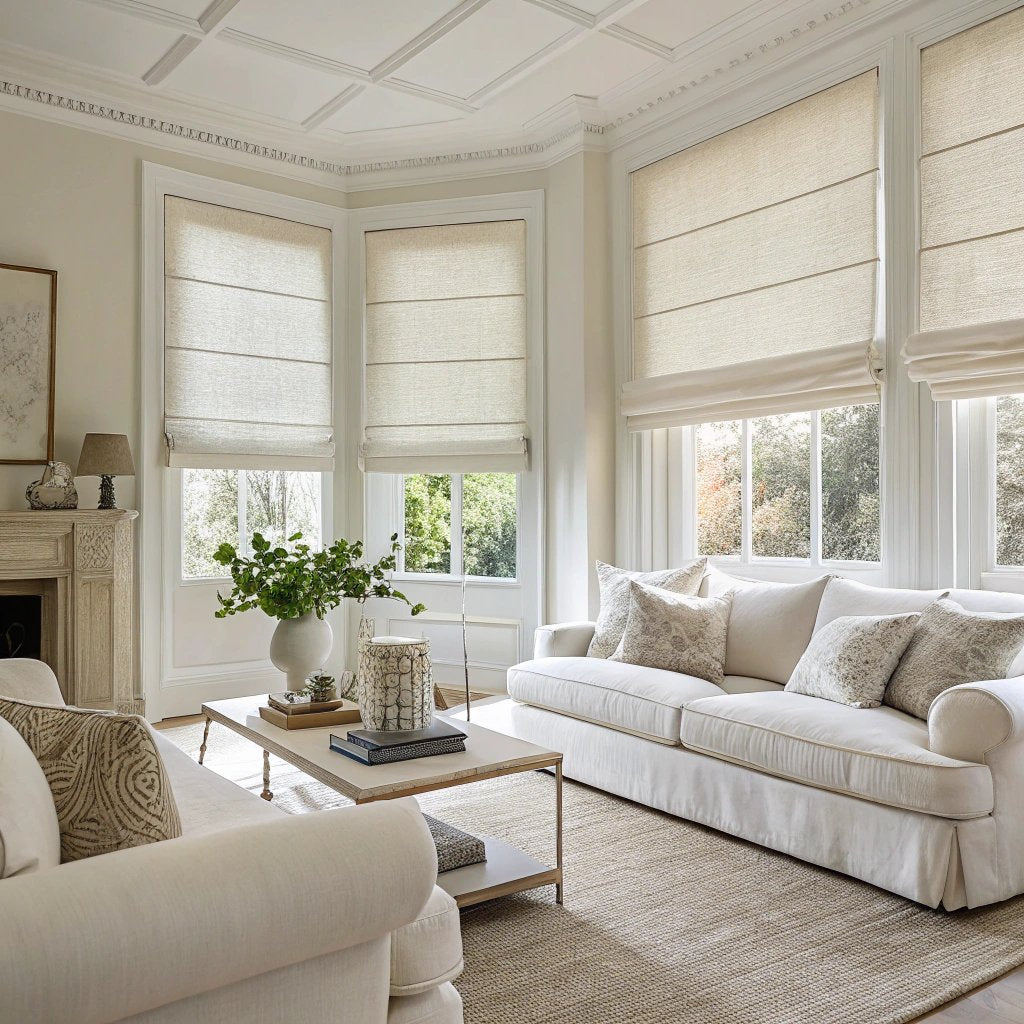
Installing Roman blinds
First, measure carefully. For inside mount, measure the width minus 5 mm so that the blind can move freely. For outside mount, add approximately 5 cm extra to the left and right for a nice overlap.
Mark the installation height level. Screw the mounting profile in place and click the Roman blind into it. Then slowly test the operation. Check that the folds rise evenly and adjust the cords if necessary.
Installing Venetian blinds
Place the mounting brackets approximately 10 cm from the left and right. For wider blinds, an extra bracket is placed in the middle. Click the headrail into the brackets and ensure it is properly locked.
Then test the tilting of the slats and the raising mechanism. Finish everything with the end caps and check that the blind operates smoothly.
Practical tip
Always install the tracks first and then the window coverings. Work calmly and constantly check that everything is level. Always let curtains hang for a while after hanging so that the fabric can settle into its shape.